GIMP Tutorials
|
Guidelines:
1. Follow each tutorial and create project 2. Use images supplied, or you may choose school appropriate images. 3. DO NOT USE GOOGLE FOR IMAGES (use sites listed to the left) 4. Save each tutorial as a GIMP project file 5. Export final created image (this you will turn in) |
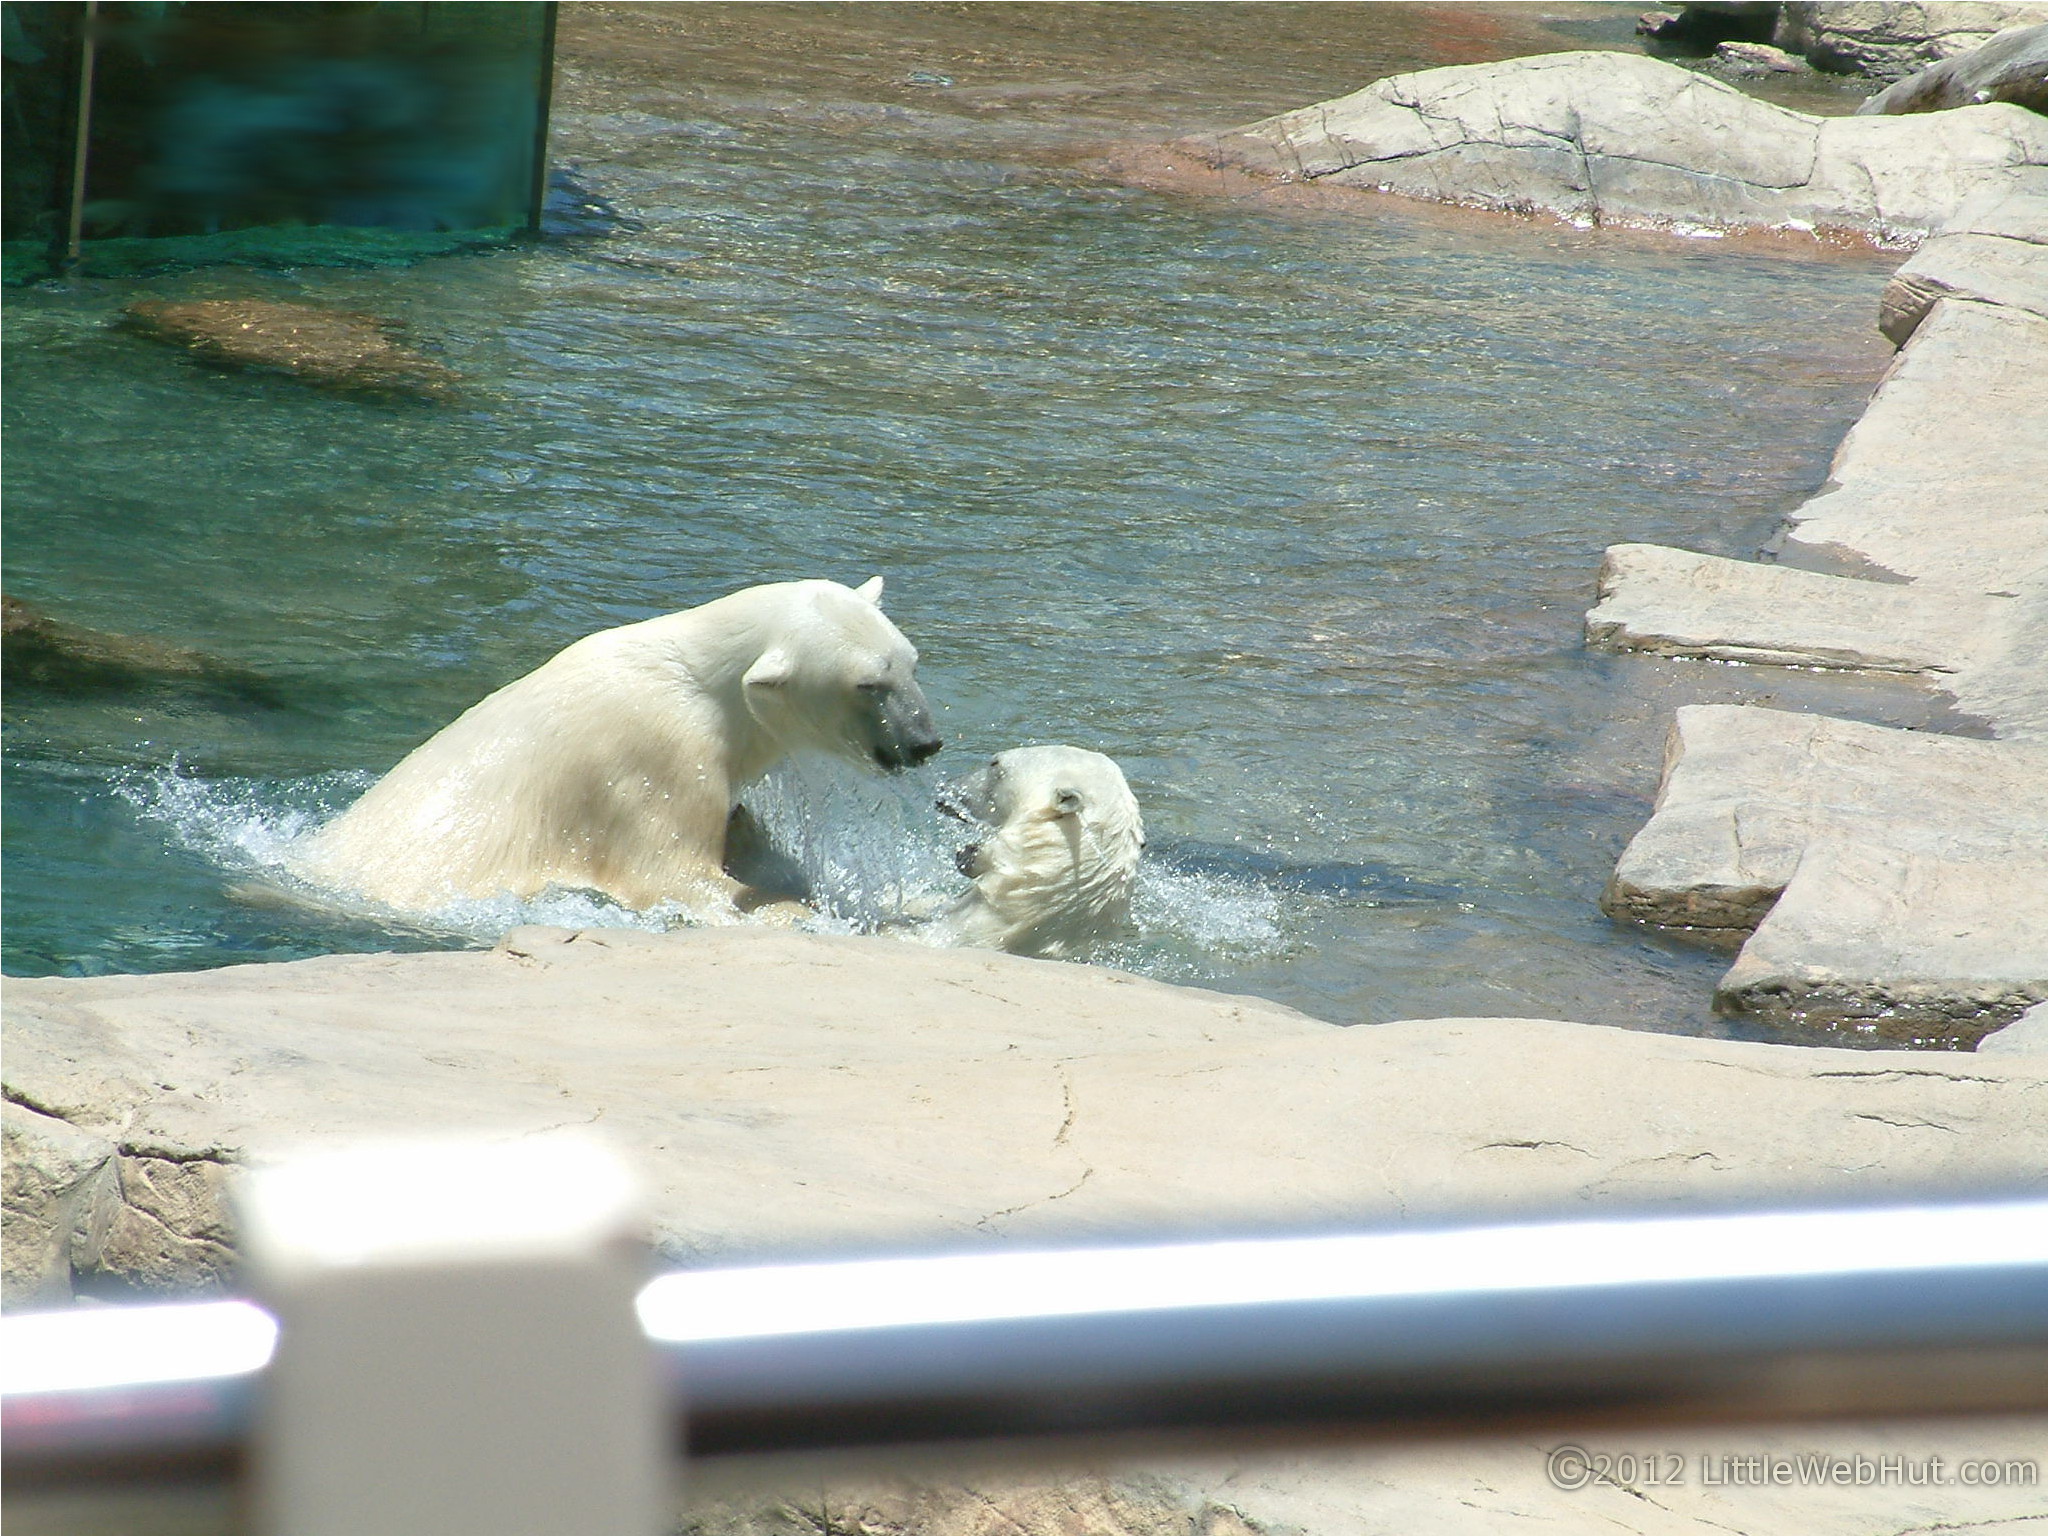
Tutorial 01: Bear in the Road
|
Project Files:
**Right click, then save link as.
Save to your Picture Folder** |
Assignment:
1. Download images to the left (click to open then save) 2. Follow the video and do what it says. SAVE Everything on your U Drive Network Name (Picture Folder) 3. Save project as bearintheroad (File, Save, bearintheroad.xcf) 4. Export final image (File, Export, bearintheroad.png) 5. Turn in your completed image to TEAMS. |
|||||
|
Tutorial 02: Background Removal
|
|
Project File:
|
Assignment:
1. Download image to the left (click to open then save) 2. Follow the video and do what it says. SAVE Everything on your U Drive Network Name (Picture Folder) 3. Save project as ostrich (File, Save, ostrich.xcf) 4. Export final image (File, Export, ostrich.png) 5. Turn in your completed image to TEAMS. |
||
Tutorial 03: Text Pop Out of Background
|
Project Files:
None |
Assignment:
1. Follow the video and do what it says. SAVE Everything on your U Drive Network Name (Picture Folder) 2. Save project as PopOut (File, Save, PopOut.xcf) 3. Export final image (File, Export, PopOut.png) 4. Turn in your completed image to TEAMS. |
Tutorial 04: Insect
|
Project Files:
None **This one is a little more detailed. Pause the video frequently** |
Assignment:
1. Follow the video and do what it says. SAVE Everything on your U Drive Network Name (Picture Folder) 2. Save project as Insect (File, Save, Insect.xcf) 3. Export final image (File, Export, Insect.png) 4. Turn in your completed image to TEAMS. |
More Tutorials:
Once you are done with all four tutorials above and submitted your PNG images to Edmodo.
Do the following:
1. Follow this link GIMP TUTORIALS
2. Choose more tutorials in GIMP to learn (2 more)
3. If done, Try Out Blender--Here are some tutorials to choose from: BLENDER TUTORIALS.
4. Repeat...
Do the following:
1. Follow this link GIMP TUTORIALS
2. Choose more tutorials in GIMP to learn (2 more)
3. If done, Try Out Blender--Here are some tutorials to choose from: BLENDER TUTORIALS.
4. Repeat...
 RSS Feed