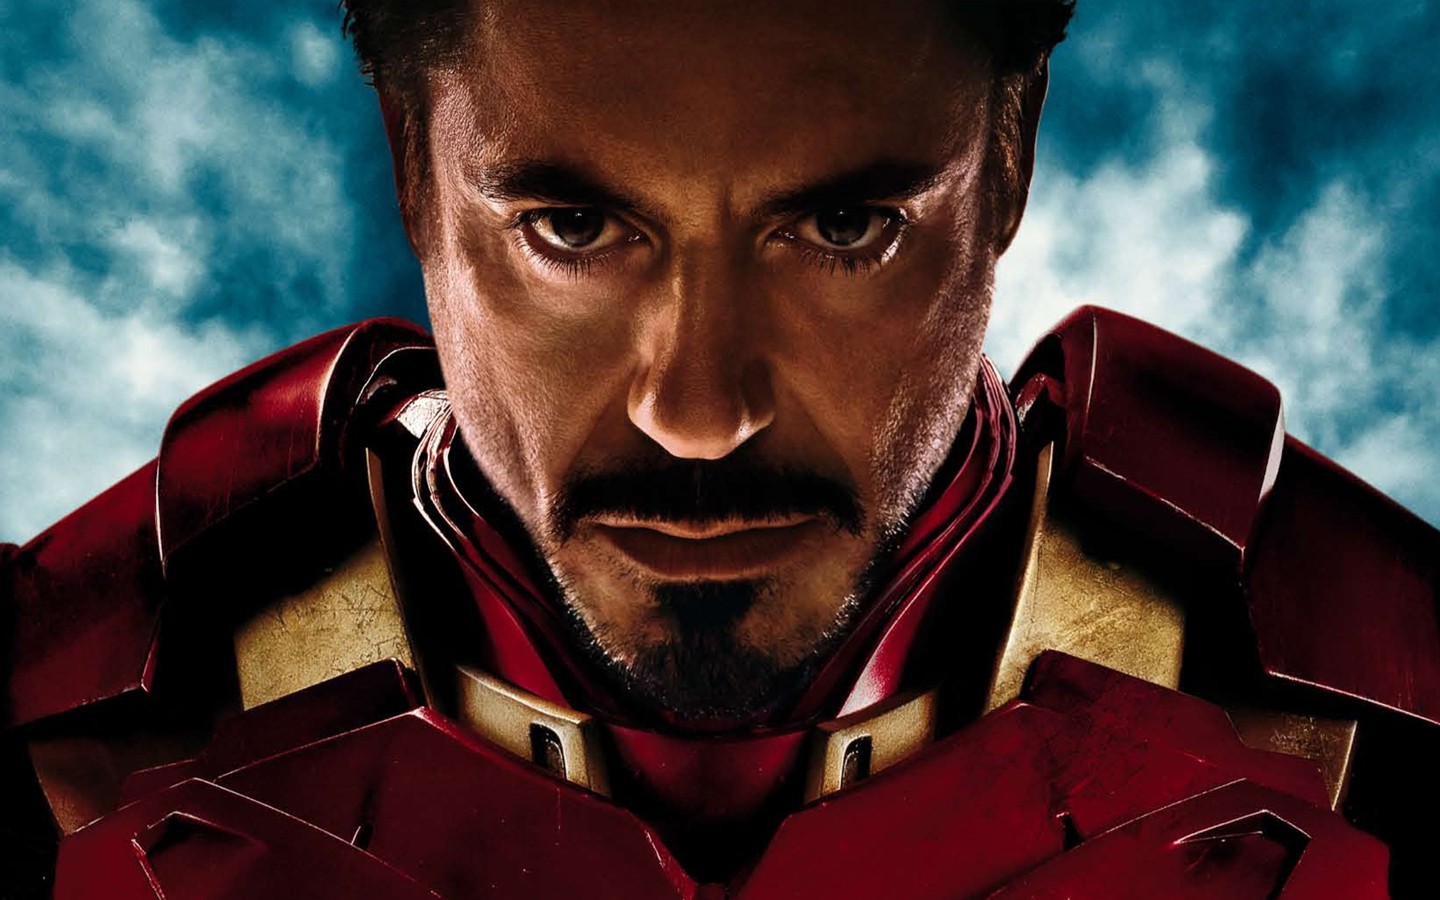
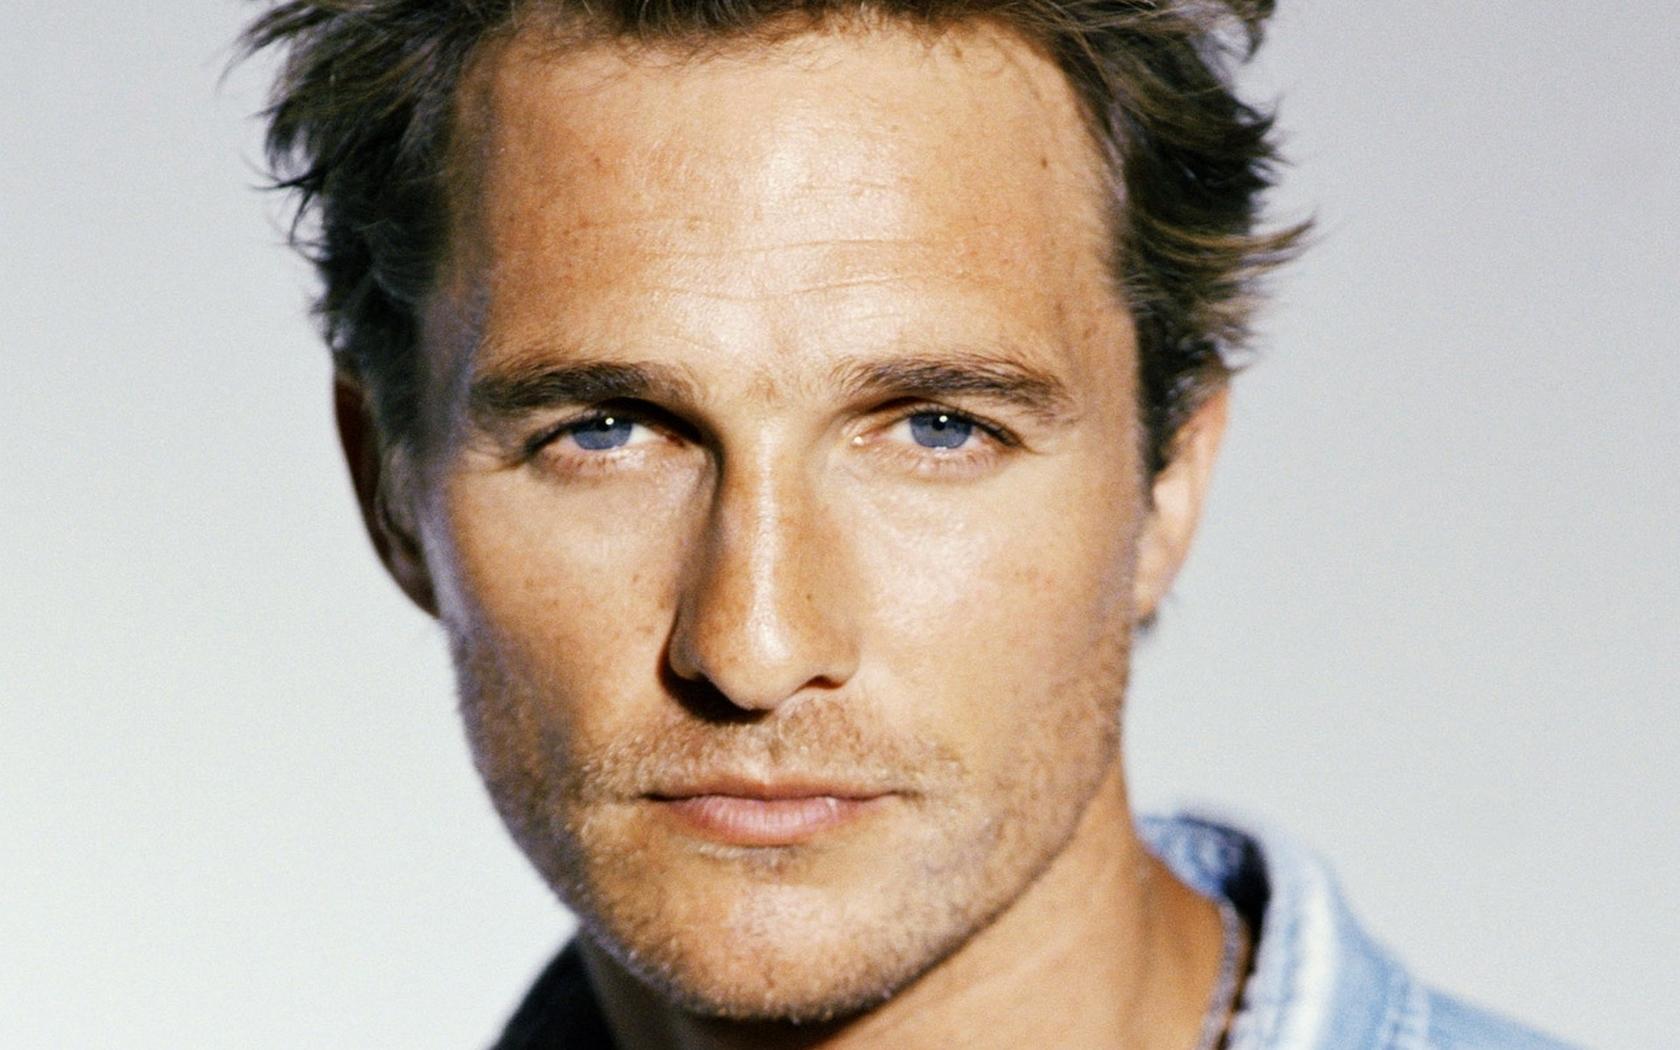
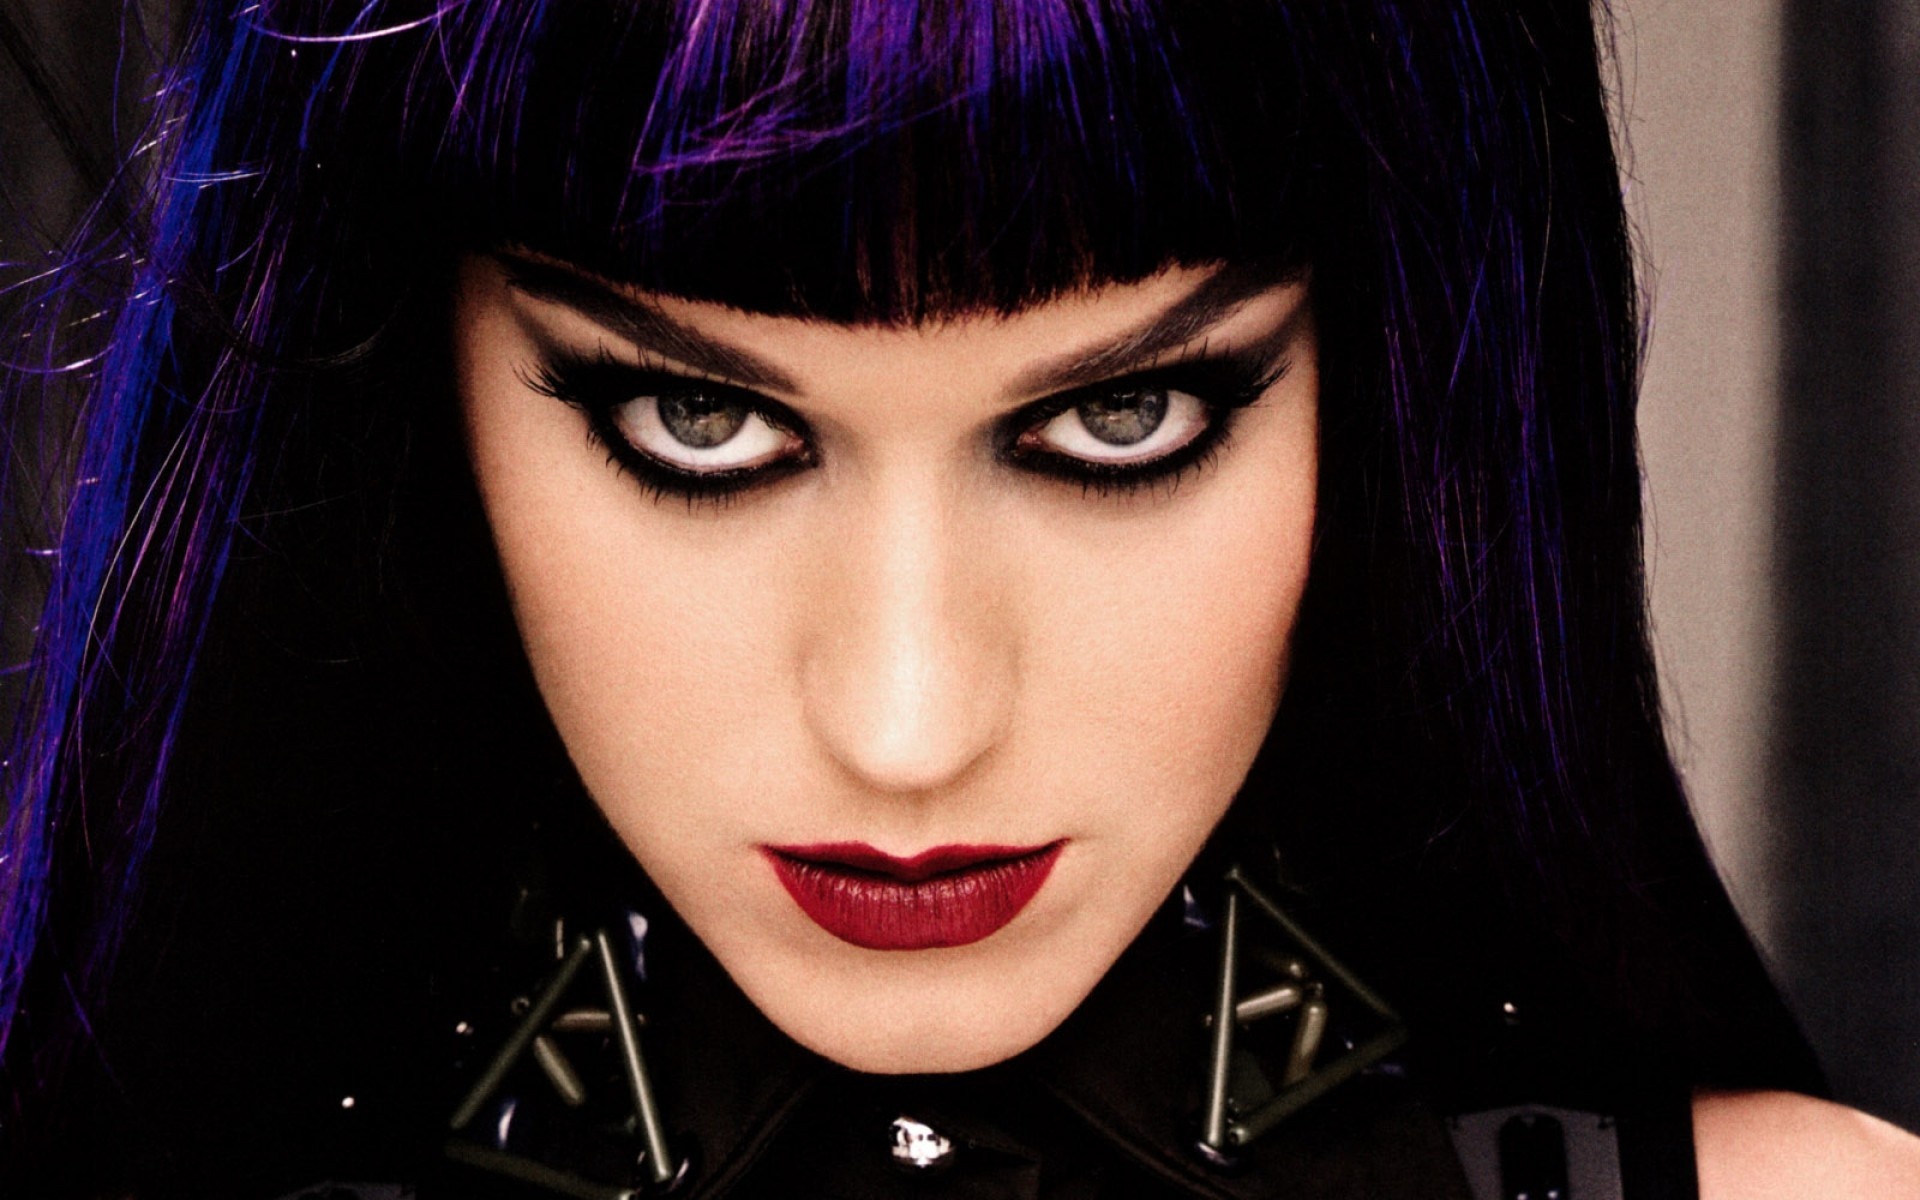
| Gimp 11: Face Swap *Choose (Matthew or Katy) for face swap.
| Assignment: 1. Upload your final image (face swap)...Iron Man with Matthew or Katy. 2. Find two images and download. Create a face swap using these photos. Be creative! Look at these pics for examples: Pic 1, Pic 2, Pic 3 3. Upload the original images and the final face swapped image. 4. Blog your comments. | ||||||
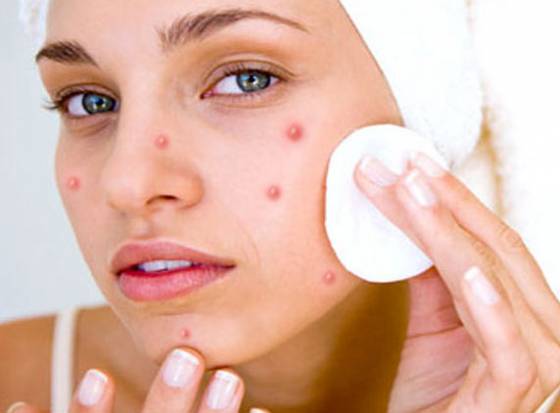
| Gimp 12: Cleaning Up Faces *Heal *Clone *Smudge *Blur *Sharpen
| Assignment: Use the image to the left and perform the steps in the tutorial. Use the Heal, Clone, Smudge, Blur and Sharpen tools. Post final image to your website and include your comments. | ||
| Gimp 13: User Interface | **Watch the video and set up your GIMP Interface as described. There will not be an image to be graded on this video tutorial. |
| Gimp 14: Threshold, Aliasing and Curves | Assignment: 1. Locate, download, save and edit a photo of a beach scene. Edit using Threshold, Aliasing and Curves. 2. Define Aliasing and Anti-Aliasing (know the difference between the two and why you would use Anti-Aliasing). 3. Define Threshold in graphic design. (What does THRESHOLD do?) 4. What does the "curves" plug-in do in GIMP? See this site for information: CURVES |
| Gimp 15: Changing Background Color (Color to Alpha) | Assignment: You will follow the tutorial and create an image with background and text. Export that image, then go through the "Alpha to Color" steps and change the background. When finished, export the final image. For this assignment, you will upload two images (before and after). |
| Gimp 16: Sketch Effect | Assignment: Locate an image (professional like) with good lighting to use for this assignment. Apply the techniques to create a sketch effect of the photo. You should upload the BEFORE and AFTER photo to your blogs. |
| Gimp 17: Green Screen Removal | Assignment: Think about five places you would like to travel to on vacation... ANYWHERE IN THE UNIVERSE. Locate images online (high resolution) that represent those places. You will then take a few pictures in front of the green screen...pose so that you can fit into the background. Once your five photos are edited and exported as JPG images, you will create five postcards using PowerPoint. I will give you instructions later regarding this part of the assignment. **Make sure you update your blog online with your five completed images. |
| Gimp 18: Custom Brushes | Assignment: Work on Gimp with creating brushes. I want you to make one brush, export and save as a "gih" file. Export your BRUSH image as a jpg and update your blog. Update your blog with the image you used to practice using the newly created brush. Also, describe the brush you made. |
| Gimp 19: Water Reflection
HINT: When the teacher tells you to fill the selected area with black...make sure (Under Paint Bucket tools options) that the "Fill Whole Selection" is chosen...not the "fill similar colors" option. | Assignment: 1. Work through this tutorial using the White House image to the left. 2. Find another image and add a water reflection to it. 3. Upload both final images to your blogs. | ||
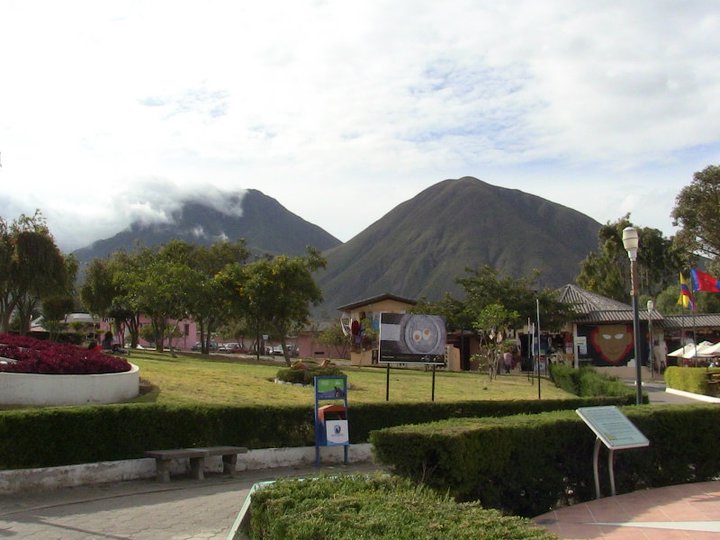
| Gimp 20: HDR Photo Correction
| What is HDR Photo Correction: Watch this video on HDR (High Dynamic Range) photography. Notice the difference between each set of pictures. HDR Defined: HDR techniques allow you to take pictures of high-contrast scenes and preserve all that important shadow and highlight detail. Most cellphones come with an HDR setting when you are taking photos. Assignment: Using the photo on the left, make color correction to the mountain area on the photo. Post final exported image to your blogs. | ||
 RSS Feed
.jpeg)